If you take your car for a repaint job to a professional shop with an automotive spray booth, high-tech robotic arm, and other equipment, for a basic deal, you will end up paying $300 to $900. Go crazy with all the dent removal, the latest ceramic coating, and high-quality paint, and you’ll be paying up to $20,000.
That’s a lot of money for a repaint job. What does DIYing the car paint job entail? Here’s what you need to know:
You’re Not Painting a Wall
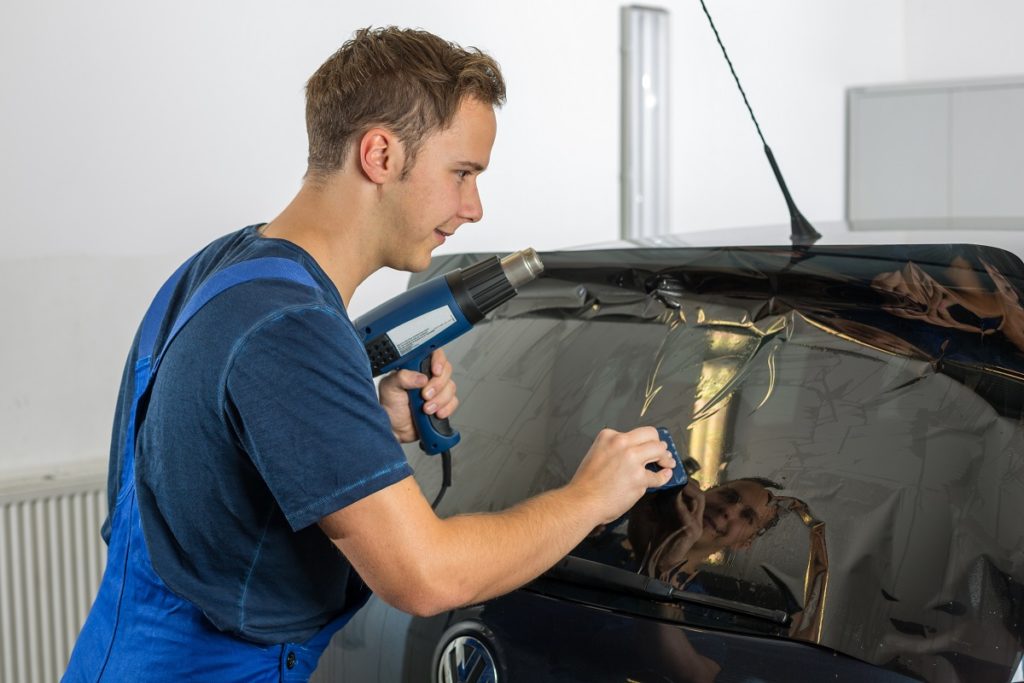
Painting a car isn’t the same as painting a wall or a fence. There are layers of products that you need to apply on the surface of your vehicle. The preparation from the stripping of the paint to masking the car are all meticulous processes that require a lot of time.
Equipment and Materials
The first thing that you need to do is to plan this project carefully. Do this when the weather is dry and warm. Apart from time, you’ll also need the following:
- Covered space if you don’t have a garage
- 1200 and 2000-grit wet-and-dry sandpaper
- Old newspapers
- Masking tape
- Face masks
- Safety goggles
- Paint thinners
- Electric sander
- Spray gun
- Dust extractor (optional)
- A gallon of primer (small to a medium-sized car)
- 3 gallons of topcoat
- 2-3 gallons of clear coat
Colors are now mixed using digital technology, and the original color of your vehicle can be easily reproduced by just entering the color code indicated in the compliance plate.

The DIY Part
Preparation, stripping, priming, and painting are the four main stages of repainting your car. Here’s what you need to know for each stage:
- Prepping. Clean your work area first. Eliminate all debris, dust, and other possible contaminants. Create ample free space around your car. You need plenty of elbow room. Wash your car thoroughly. Make a decision about which surface part you’re going to paint and start masking using the newspaper and masking tape.
- Remove old paint. Removing the old paint is called stripping. Remember that there are three layers of product on the surface. Use the sander in a circular motion. Your goal here is to make the original metal appear, where you will first apply the prime coat. Once stripped to its bare metal state, wipe it clean with a rug. Use a dust extractor on hard to reach crevices.
- The first coat. Applying the first coat or priming is the next step. Refer to the instructions on how to mix the primer with the thinner. Do some practice spray on an old car part before doing it on your car. Once you’re done with the primer, you’ll need to sand it with wet-and-dry sandpaper.
- Final paint. Like with the primer, mix the paint with the thinner as prescribed. Check the nozzle setting first. Keep the nozzle about six inches away from the vehicle and spray side to side. You’ll need to spray paint three-times, remove the powdery dust using sandpaper, wipe it with a rug, and then apply the final coat. Follow the prescribed drying time before sanding. Apply the final topcoat lacquer.
Scrutinize the surface after applying every coat. Drips and runs might be present, and you should remove this by sanding and then spraying again. Don’t expect a perfect job. Study the process carefully, and your next project will be a better one for sure.


